



October 6, 2021
How to add artwork to a dieline?
Here's where to add dieline to your custom eco-packaging artwork.
Learn how to use Adobe Illustrator to add artwork to your dieline and prepare it for production.
At Grounded we want to ensure you get things right the first time round. And dielines are a way to ensure every detail of your packaging design is communicated to our production team.

Not all dielines are the same
It's also important to note that depending on the format and material the dieline specifications will vary due to the nature of the materials being employed.
Easy peasy. Lemon squeezy.
6 Steps to getting your packaging artwork right.
Not everyone likes following steps - but trust us when we say that these 6 steps will ensure the perfect result.
Step 1. Request dieline
Drop us an email with the subject 'Request dieline'
Step 2. Open Illustrator
Open the selected Grounded dieline in Adobe Illustrator and get familiar with the guidelines.
Step 3. Add artwork
- Add a new layer for your artwork in the Illustrator file.
- Create your design on this new layer.
- If you're importing artwork (logos, patterns, etc.) that you've already created, just drag it onto the artwork layer and click Embed in the Control Panel at the top.
Step 4. Create outlines
All of your text should be outlined so that when we open your dieline, it looks just how you designed it.
- With the Selection Tool, select all the text on your dieline.
- With your text selected, transform it to outlines from the toolbar: Text > Create Outlines
Step 5. Colour
Make sure you include the ink colours you want printed on your packaging. Pantone colours or CMYK values are the standard colour matching systems used in packaging.
If you want to match a previously printed design - please provide a sample to your account manager.

Step 6.Sustainability icons
Your account manager will provide you with sustainability icons to help promote your positive impact.
Other posts you may like:
thumbnail.png)

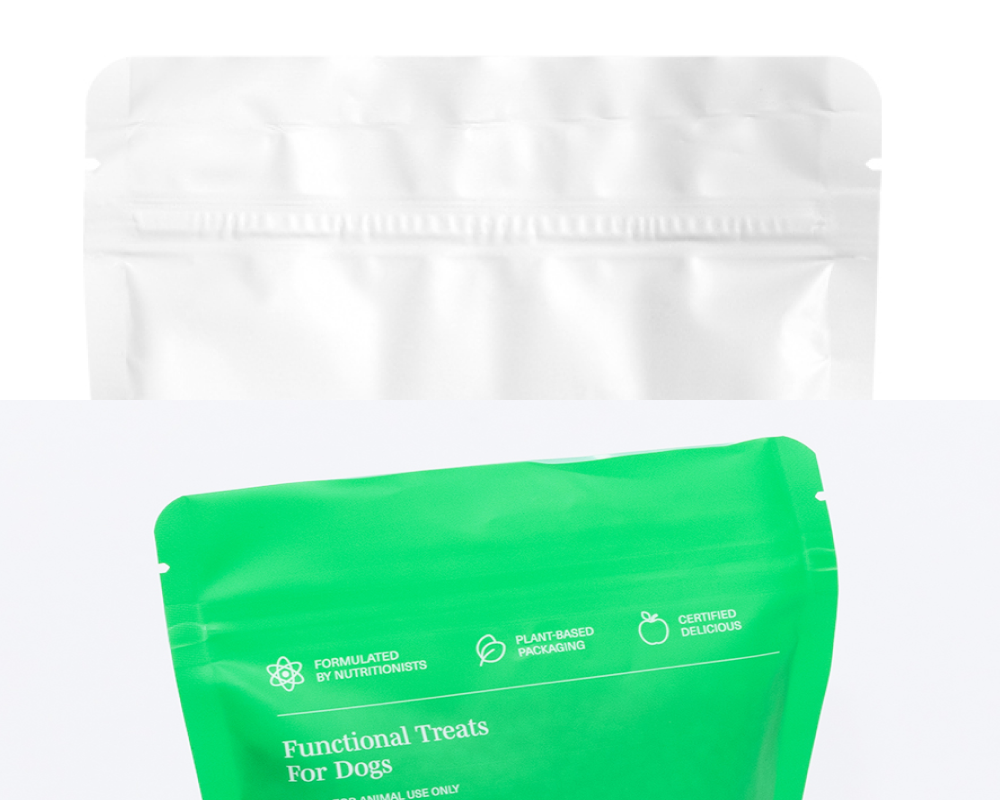
Explore custom packaging solutions
Subscribe to our newsletter
Stay up to date with packaging news and industry updates.


.webp)